

Gardening is just like investing. Come to think of it – Gardening is a form of investing. You need to work and gather resources (i.e. capital), learn how you can put those resources to work properly and then implement your strategy. Afterwards there is always an element of ongoing care needed – watering your garden is like managing your investments.
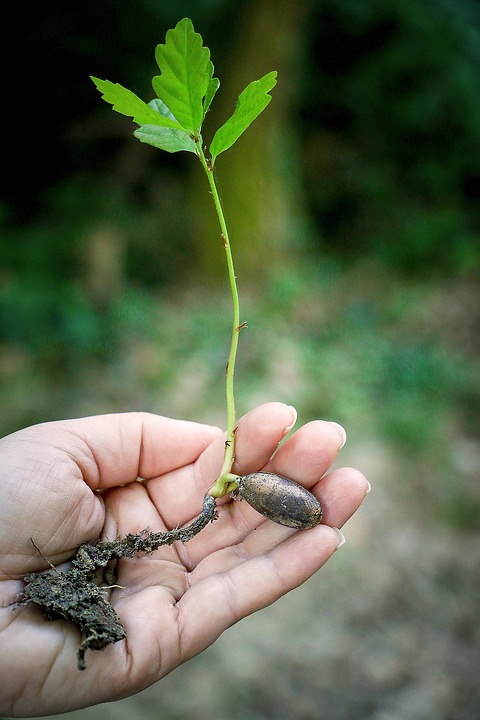
Some strategies are more passive than others, and some take more time – for example growing vegetables and other seasonal crops is kind of like property investing which needs ongoing effort, whereas planting a tree sapling is kind of more like buying a stock market index ETF; yes the sapling might need a bit of a water initially but otherwise it’s on autopilot – just like your ETFs. When the tree produces more food than you can eat, it’s just like reaching FI with investing in your stock market ETF.
So why grow your own food?
Choosing to grow food is a step towards self sufficiency, which is a great way to progress towards financial independence. There are some small set up costs associated however these can be really minimised if you take a few simple steps and make use of the three R’s (reduce – reuse- recycle). The very small cost of seeds and the relative ease at germination means that for a fraction of the price of your weekly grocery bill, you can be growing fresh, healthy organic produce in your own home.
This is a welcome ally in the goal of Financial Independence – not only is your grocery bill lower, but now that nest egg portfolio doesn’t need to be so big to sustain you, which means you will reach your FI number quicker! From just a few minutes of work, I was able to reduce my grocery bill by around a quarter – how is that for a rate of return?
Growing your own food is also a lot of fun. When done right you don’t have to be investing much time at all, and planting your seeds can be just like buying your investments every fortnight. You just do it and then sit back and reap the benefits that just keep coming in time after time.
Apartment vs House

Growing an epic food garden is simple if you have a house with a yard or some land to cultivate a veggie patch or plant fruit trees. But what about apartment dwellers? Well don’t worry – because it’s super easy to design and build a productive food garden on your balcony – I know because I have done it myself. I live in a small one bedroom apartment in Sydney, Australia, with a very small balcony space.
On that balcony I have 30 pots (30mm black plastic) which contain Herbs, Fruits and Woody/stemmed vegetables, as well as four 100L Kratky-type hydroponic tubs which I rotate leafy green crops such as lettuce, kale, spinach and bok choy.
As a pilot I am away from home, a lot! Sometimes for weeks (or even months) at a time so I can’t be there to water my garden. With no taps on my balcony I had to come up with an ingenious solution. I built a reservoir and water delivery system that uses gravity to supply the head of pressure required. This is an elevated 200L ‘water tank’ which I made out of a plastic moving/storage crate, which is plumbed into some 25mm black plastic tubing which forms a delivery pipe that then feeds a 4mm nylon tube terminating in a dripper for each of the 30 pots. Thankfully, the kratky-type hydroponic tubs don’t ever need watering, since they gradually draw down the water reservoir over the life-cycle of the crop.
What do I grow
In my small 6m balcony I typically have a wide variety of crops, inter-planted within each other’s pots. I gradually want to build up the number of fruit trees I have because fruits are typically one of the biggest line expenses in my weekly grocery budget – I am a total fruit bat and I love all fruits, especially citrus and mangoes! At the time of writing I currently have growing:
Herbs
- Mint
- Vietnamese mint
- Parsley
- Basil x 3 (we eat a lot of basil!)
- Oregano
- Thyme
- Sage
- Chilli (hot pepper)
Vegetables
- Lettuce: Red, Butterhead, Cos, Coloured, Iceberg, Romaine
- Spinach
- Perpetual Spinach (technically called Chard)
- Tomato
- Snow peas
- Climbing peas
- Sugarsnap peas
- Purple beans
- Broad beans
- Capsicum
- Cucumber
- Pumpkin
- Zucchini
Fruits
- Avocado tree sapling
- Pineapple
The Wish list
There is still a lot more that I would like to see in my portable (rental apartment!) balcony garden. But over time, I will be adding larger (50cm pots) to house fruit trees to displace the vegetables I grow in pots (soil) as I transition to using hydroponics more to grow the seasonal vegetables and use the prime sun space for fruit trees. Perhaps I am overly ambitious to think I could squeeze all this in, but I think it would make for a lovely oasis on the balcony (adjacent to my home gym) and a great place to sit and enjoy a herbal tea or breakfast. On the top of my list includes;
- Apple
- Pear
- Orange
- Lemon
- Lime
- Mandarin
- Grapefruit
- Peach
- Plum
- Nectarine
- Feijoa
- Bay tree
- Apricot
- Fig
- Mango
- Blueberry
- Ginger
- Eggplant
- Celery
- Chives
- Rhubarb
Hydroponics
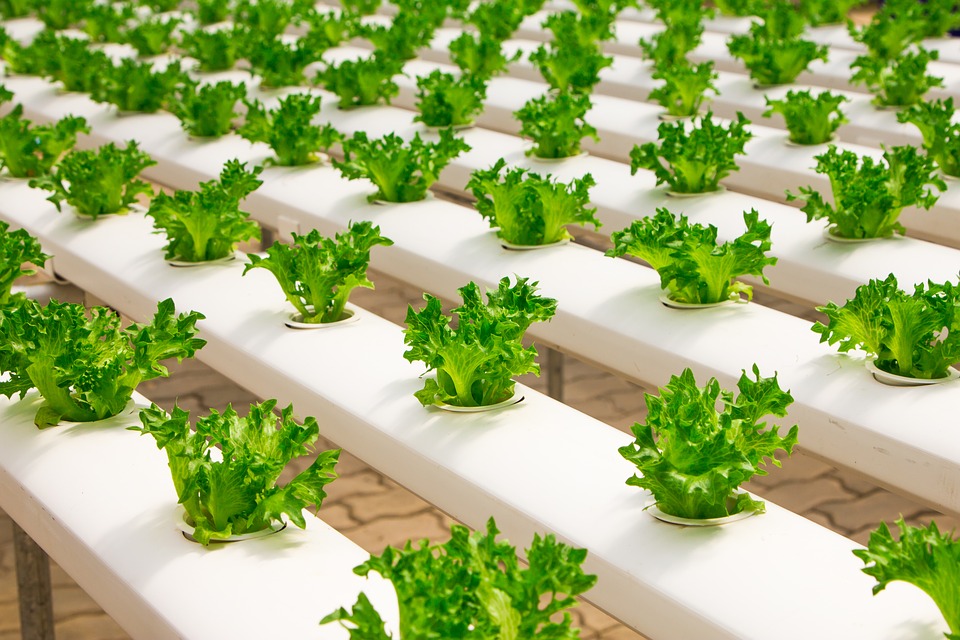
Hydroponics is a great way of growing seasonal vegetables especially leafy greens or Brassica family plants. The crux of it is essentially the plants are suspended in a growing ‘media’ such as Rockwool or clay pebbles, and the plants roots are exposed to a source of nutrient dense water. This water has added nutrients and minerals which are metered into it, and is a typical N-P-K (Nitrogen, Phosphorus, Potassium) mix with added trace elements such as Calcium, Iron and Magnesium.
There are many ways of hydroponic growing, and it’s not a new technique at all; in fact many commercial farms have been using hydroponic growing techniques for decades to meet the huge growing demand for fresh produce with strict quality standards. Greenhouse hydroponics allows year round production of otherwise seasonal crops, as well as a controlled environment which excludes pests and therefore avoids harsh pesticides or other contaminants.
The Kratky method
There are also many expensive forms of hydroponics, and to be honest if you’re stupid you can pay whatever you want for a set up. After some “research” (A.K.A watching Youtube for a couple of hours) I figured the Kratky-type hydroponic was the simplest, cheapest and easiest form of growing in a small space. This has the added bonus that you don’t really need to ‘top up’ the water reservoir which made it perfect for my job as a pilot where I go away for weeks at a time.
How I did it
To fully set up my kratky-type hydroponic tubs I bought four large (100L) plastic moving/storage crates from a hardware store. I then used a standard 54mm hand powerdrill hole saw attachment to drill 30 holes in the top of each container. I then simply slipped a standard 55mm diameter plastic pot into each hole – you can use expensive net-cups however I preferred paying 5cents per pot at the hardware store over $1.20 at the hydro shop. I then simply pushed a 1 inch cube of spun ‘rockwool’ into each pot, and popped two seeds of each plant into the rockwool centre.
I filled up the tub almost to the top (enough so the level of the water is about 1cm above the bottom of the pots to keep the rockwool thoroughly soaked) and added a very generous number of spoons of NPK fertiliser pellets to the tub – and gave it a good stir. Again you DON’T need to pay $20, $50, $100 for fancy marketed hydroponic nutrients – this is ridiculous and I have seen them even dearer for that. They (shops) try to sucker you in with two or three type solutions (mix part A and then Part B through to part Z…) which you end up paying hundreds of dollars for – all you end up with is a collection of fancy marketed bottles which do the same thing as the cheap NPK and trace mineral pellets that cost $2 – Maybe I need to add expensive hydroponic nutrients to my list of things I refuse to buy!
If you want to get fancy you can adjust the pH (acidity/alkalinity) of the water using something like sodium hydroxide for alkalinity or iron sulphate for acidity. I don’t think it’s necessary and just used tap water but if you wanted to split hairs you could do this to optimise growing conditions.
After a few days your seeds germinate and then like me, you will have a huge crop of leafy greens. I have four tubs in which I stagger the seeding times so that I will always have crops ready for picking – they take 4-6 weeks to mature (but you can always pick them younger, you just get less).
The Bottom line
OK so in this green thumb adventure I’ll be honest – I’ve spent nearly $200 all up. This includes enough seeds for probably two or three years worth of crops. I’m expecting to harvest around 1-2kg of fresh food from this garden each week. I try to only grow foods that are expensive (like snow peas) or that I buy lots of (like lettuce and spinach). I think I stand to save at least $10 a week on groceries but maybe even more. I’m hoping this will push my weekly grocery bill down into the $20’s where I am only going to be buying things I can’t easily grow like Rice, Oats, Seeds and Nuts and of course, whatever seasonal fruits or vegetables are on special. This means I should easily recoup my investment at the hardware store in under 6 months, as well as having an absolute blast doing so.
I accidentally germinated too many seedlings. I gave away a lot but as a bonus side hustle I actually even sold some of these extra peas, beans and tomato plants that I unnecessarily germinated from seed. I’ve actually made $30 from this so far, and I am tempted to keep growing more than I need and keep advertising them online and use the money to buy fruit tree saplings!
It turns out that the four Kratky tubs produce a lot of greens. More than I can eat! The extra produce I grow (lettuces, Kale, Spinach etc) goes free to my family, friends and neighbours and it’s a great feeling to be able to provide even a small amount of fresh produce for my community. Get amongst it and start growing – A green thumb can really help you become more self sustainable and accelerate you towards FI!
Get FI !
Edit: Astute readers would notice from my Monthly updates and Instagram / Facebook uploads that I have continued to improve my garden! It is now January, 2020 and my all up spending is now at almost $500 (which I have financed from side hustles such as eBay selling). I have grown a heap of fresh fruit and veggies so far including Lettuce, Chillies, Spinach, Corn, SnowPeas and Beans as well as Herbs and Teas which I estimate has given me back at least $100 worth of value in just under two months!
Captain FI is a Retired Pilot who lives in Adelaide, South Australia. He is passionate about Financial Independence and writes about Personal Finance and his journey to reach FI at 29, allowing him to retire at 30.


Hi Cap, great post! I love to collect cacti, as they are the lowest of low maintenance, I should probably also craft a low maintenance investment portfolio if this metaphor is anything to go by! hehe.
Your balcony set up is very impressive! I have a smallish yard, so could definitely get onboard. I do worry about the WA heat being a problem over summer.
Looking forward to hearing more about the fruits of your labour! 🙂
Cheers
Lauren
I was once given a cactus by a girl! In hindsight it was probably because she thought I was a prick ? in all seriousness though you could try and grow prickly pear – they produce red spiky balls which you can peel and eat ? very sweet
Wow! I can’t believe how much you can grow on a balcony! Certainly puts me to shame ? I started with 2 wicking garden bed boxes in May – and have been pleasantly surprised how much I got out of it. But I must improve on growing from seeds and composting. Agree with you that growing veggies is much like growing your investment – can’t wait to harvest my investment eventually, haha
Wicking boxes are a great start! Helps them automate the watering and increase the plants chance of survival. since writing the article I have doubled down and bought even more plants! Absolutely loving having a green thumb. I’m trying to germinate more avocados and mango seedlings which I will graft the productive branches onto so they fruit quicker. Also added a few more herbs including lemon balm, lemon grass, verdana lemon, dill, oregano, French tarragon and spicy basil. I have been harvesting the herbs to make herbal tea which is awesome! I just want to hurry up and grow some lemons so I can have those for tea also ? what are you currently growing in the wicking beds?
Wow, your balcony is productive!! Currently, I have dwarf beans, 2 varieties of tomatoes, bok choy, cucumber, eggplant & zucchini. I need to plant herbs. Over the winter I had snow peas, broccolini, cauliflower, bok choy, lettuce, beetroot and carrot. I surprised myself with how much I loved veggie gardening
Wow you have a fantastic selection too! I found that herbs such as Basil and Mint grow super easy and really go well with tomatoes. I have heard tomatoes and basil are complimentary plants so they prevent disease in each other by repelling pests. I have also planted nasturtiums and marigolds for this purpose, too!
Very interesting angle and approach to reduce spending! Was wondering how you are able to achieve such low cost of living requirements. I’m impressed by what you have been able to grow. I’m still licking my wounds from last years attempt at watermelon, tomatoes, bell peppers and jalapeños. Lots of effort, only to have it all destroyed by an unexpected freeze early summer.
Hi Mate,
Thanks for the words of encouragement! I guess I just see money as being equal to time, so when I look at a purchase I think – O.K. so that is ‘X’ hours of my time or I would need to work for ‘Y’ months to afford that. Thats helped me be a bit more frugal and control my spending. In a rather ‘Mustachian’ fashion, I don’t really have a budget. Well I do and I dont – I track my expenses, but I dont limit myself to a budget. I just think long and hard over every purchase. For example, we are recently hit by fires in sydney – I did not think twice about spending $60 at a hardware store on hose fittings, smoke masks and a bunch of extra buckets. With regards to your garden, is there anything you can do to avoid the frost? Elevate or create a barrier? I watched an awesome YouTube video recently where a lady in northern USA used a simple plastic tub, flipped it upside down and then used it as a shield and grew lettuces in a bag of potting mix with holes poked in it. You gotta get creative! For example I have no tap on my balcony, so I used a 100L water tub to create a ‘tank’ and then gravity drip feed to my pot plants for when I am away. I’m also using hydroponics with a huge reservoir which helps to beat the Aussie heat. If you come up with a way to protect your veggies from frosts let me know!
Just found this post after searching garden on your blog; keen to give it a try as a FIFO worker
Hey Baz – Give it a go mate, you’ll be suprised at just how fun and relaxing it is. Plus after a few months you will generally recoup all of your set up costs and then find it just reduces your grocery bills
Great read!
Great read!
I’d love to get more details on your kratky hydroponic setup.
Most of the tutorial on youtube are using expensive hydroponic gear, I’d rather do it the mustachian way 😉
Could you share some pictures? Where did you buy your stuff, Bunnings?
Hey Oli, Yeah all of the Kratky tub stuff came from bunnings and was done on the cheap. Although, I must admit I am moving back towards conventional soil grown vegetables in pots now. I’m interstate at the moment but will see if I can dig up some pictures to post.
Great thanks, no rush.
Any reasons why you’re moving back to soil-grown?
I found that the water was going a bit stale after a while and the cost of the soluble nutrients was adding up, without it the plants looked a bit anemic and didn’t grow as well. But with the soil, I literally just put my kitchen scraps directly into the pot (bury it an inch or so) and it seems to be nourishing the plants I am growing just fine and totally free.